Add to Cart
Quick View
95.00€


Description
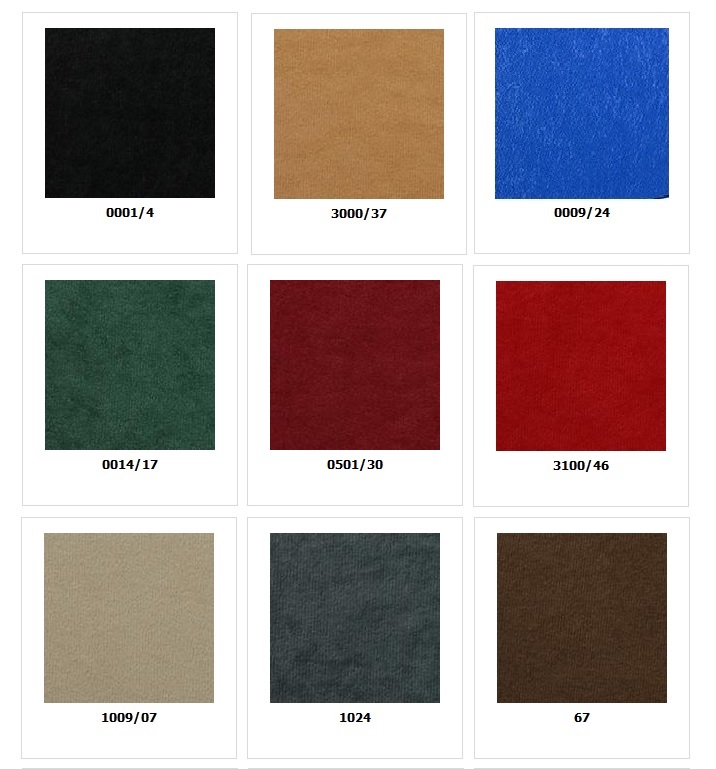
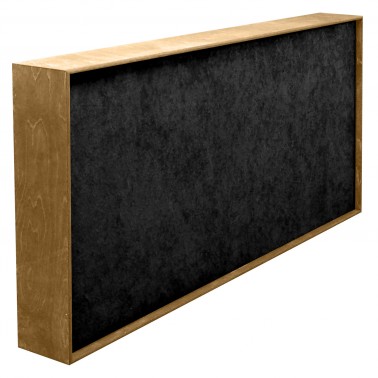
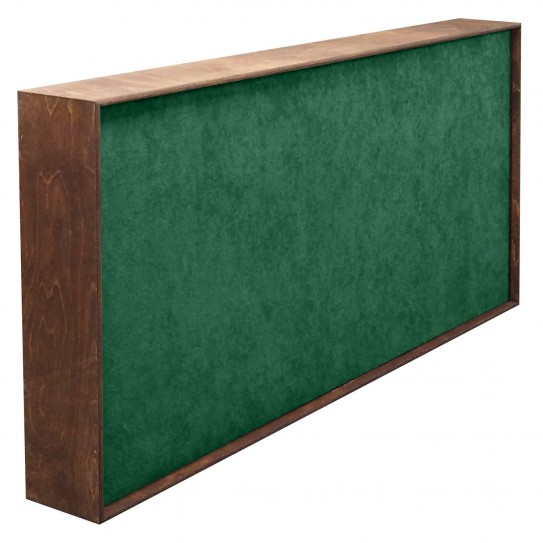
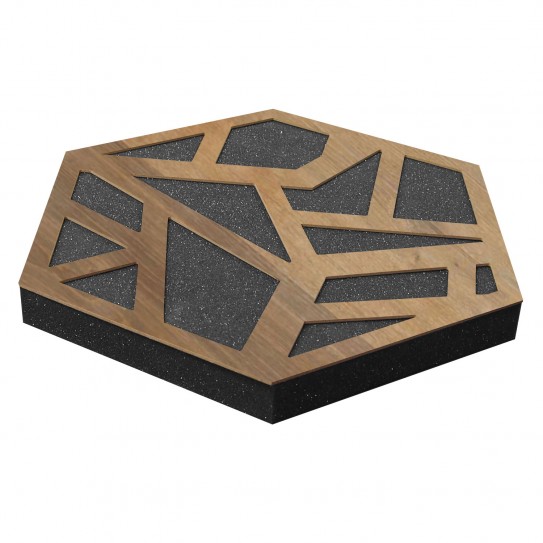
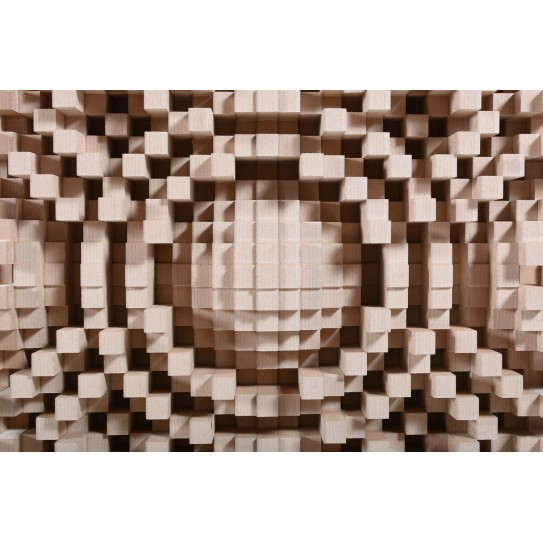
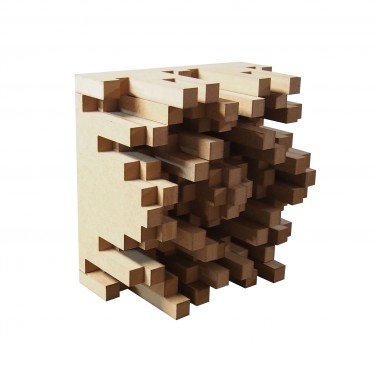
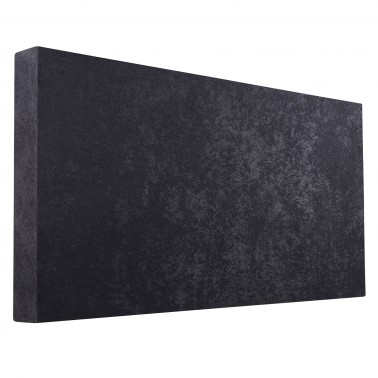
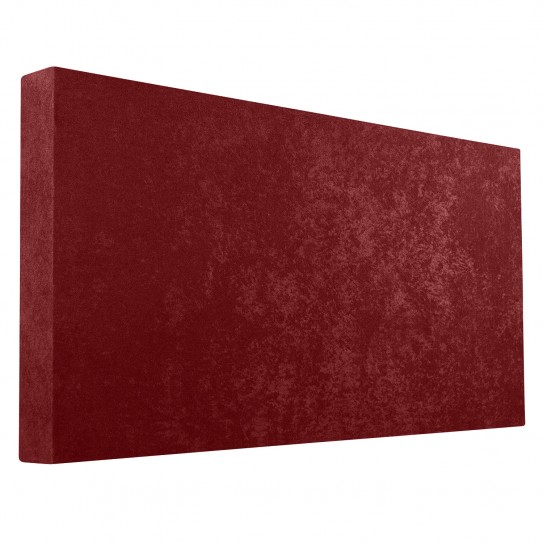
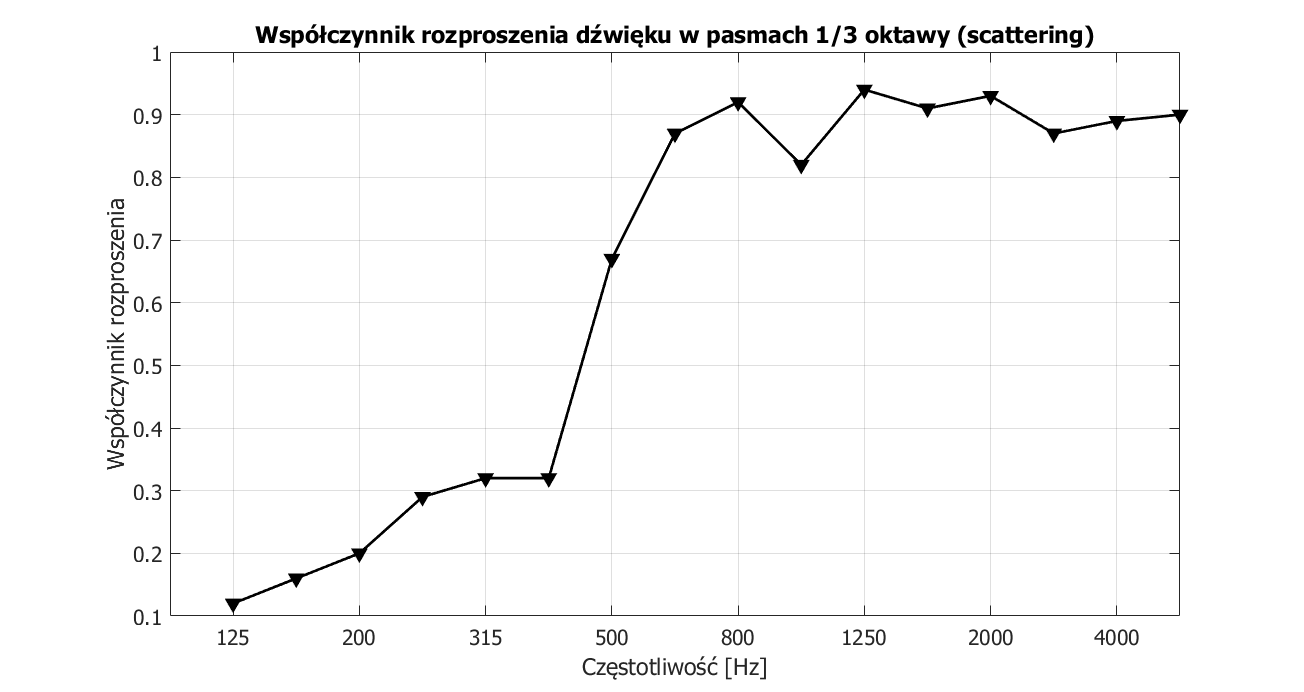
Schroeder diffuser QRD 1D 7N CC, the panel has grilles made of material (available in 8 basic color variants), body size 60 x 60 x 10 cm - a diffusing panel based on a square residual number 7.
It provides good sound diffusion coefficients in the range of 550 - 4000 HzFeatures
* wide range of applications, from offices or larger rooms / halls to private listening rooms
* all designed in a cube of 60 x 60 x 10 cm
Application Indoor acoustics often suffer from low frequency problems.
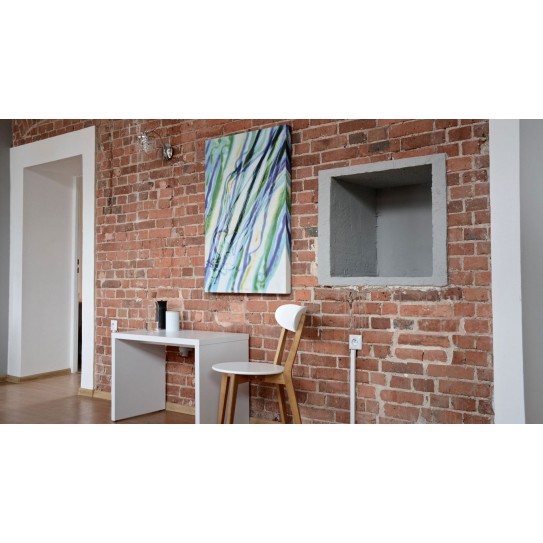
The panels are perfect for improving the acoustics of a recording studio, director, rehearsal rooms, office, call-center rooms, conference rooms, clubs, kindergartens, shopping malls and other more intimate rooms such as home theaters, and listening rooms.
For better readability, dynamics and quality of music and all types of sound, they reduce reverb and rumble. In small rooms, there are already one - two well-chosen systems can significantly change the room's acoustics. Design Regardless of whether we plan to silence the walls, ceiling or floor, these are elements of our surroundings, which means that it will affect the appearance of our interior and our well-being. Thanks to the wide range of sizes and thicknesses of panels, as well as their rich colors, we can design compositions that will not only improve the acoustics, but also create a unique, modern room design.
That is why we give you the opportunity to use not only the ready-made configurations of acoustic systems but the ability to create your own individual / personalized combinations of panels.QRD 1D 7N diffusers are excellent acoustic panels used to improve interior acoustics.
The method of mounting QRD 1D 7N acoustic systems is independent of their dimensions and series and consists in placing (vertically or horizontally) on previously prepared wall mounting studs.
We advise on how to attach an acoustic panel to a wall so that it fulfills its function and also looks good. all our systems are with invisiblefixing holes.
Step I - Determining the place of attachment of the system Mark the mounting height on the wall - it's best to mark the center of the panel. This amount depends entirely on our preferences.
Step II - measuring the spacing of mounting holes We measure the spacing of mounting holes on the back of the body.
Step III - Marking the mounting place for the handles We mark the spacing on the wall. In this way, we have pre-determined mounting locations for panel stems (holders).
Step IV - Level check We check with a level to see if the marked places are at the same level, we make corrections if necessary.
Step IV - Drilling holes We drill holes. The diameter of the drill is selected to the diameter of the wall plug. When the wall is made of a hard material (e.g. concrete), we use a hammer drill. It will be useful to help a second person who immediately collects dust created during drilling with a vacuum cleaner.
Step V - Inserting the dowels We insert the wall plug and then screw in the screw.
Step IV - Suspending the acoustic panel with dowels We put the system on assembly pins, trying to hit it on both pins at the same time. Step IV - Ready! To be sure, you can check once again whether the system hangs evenly. If so, you can enjoy improved room acoustics.